How to Connect a Dell Laptop to a TV?
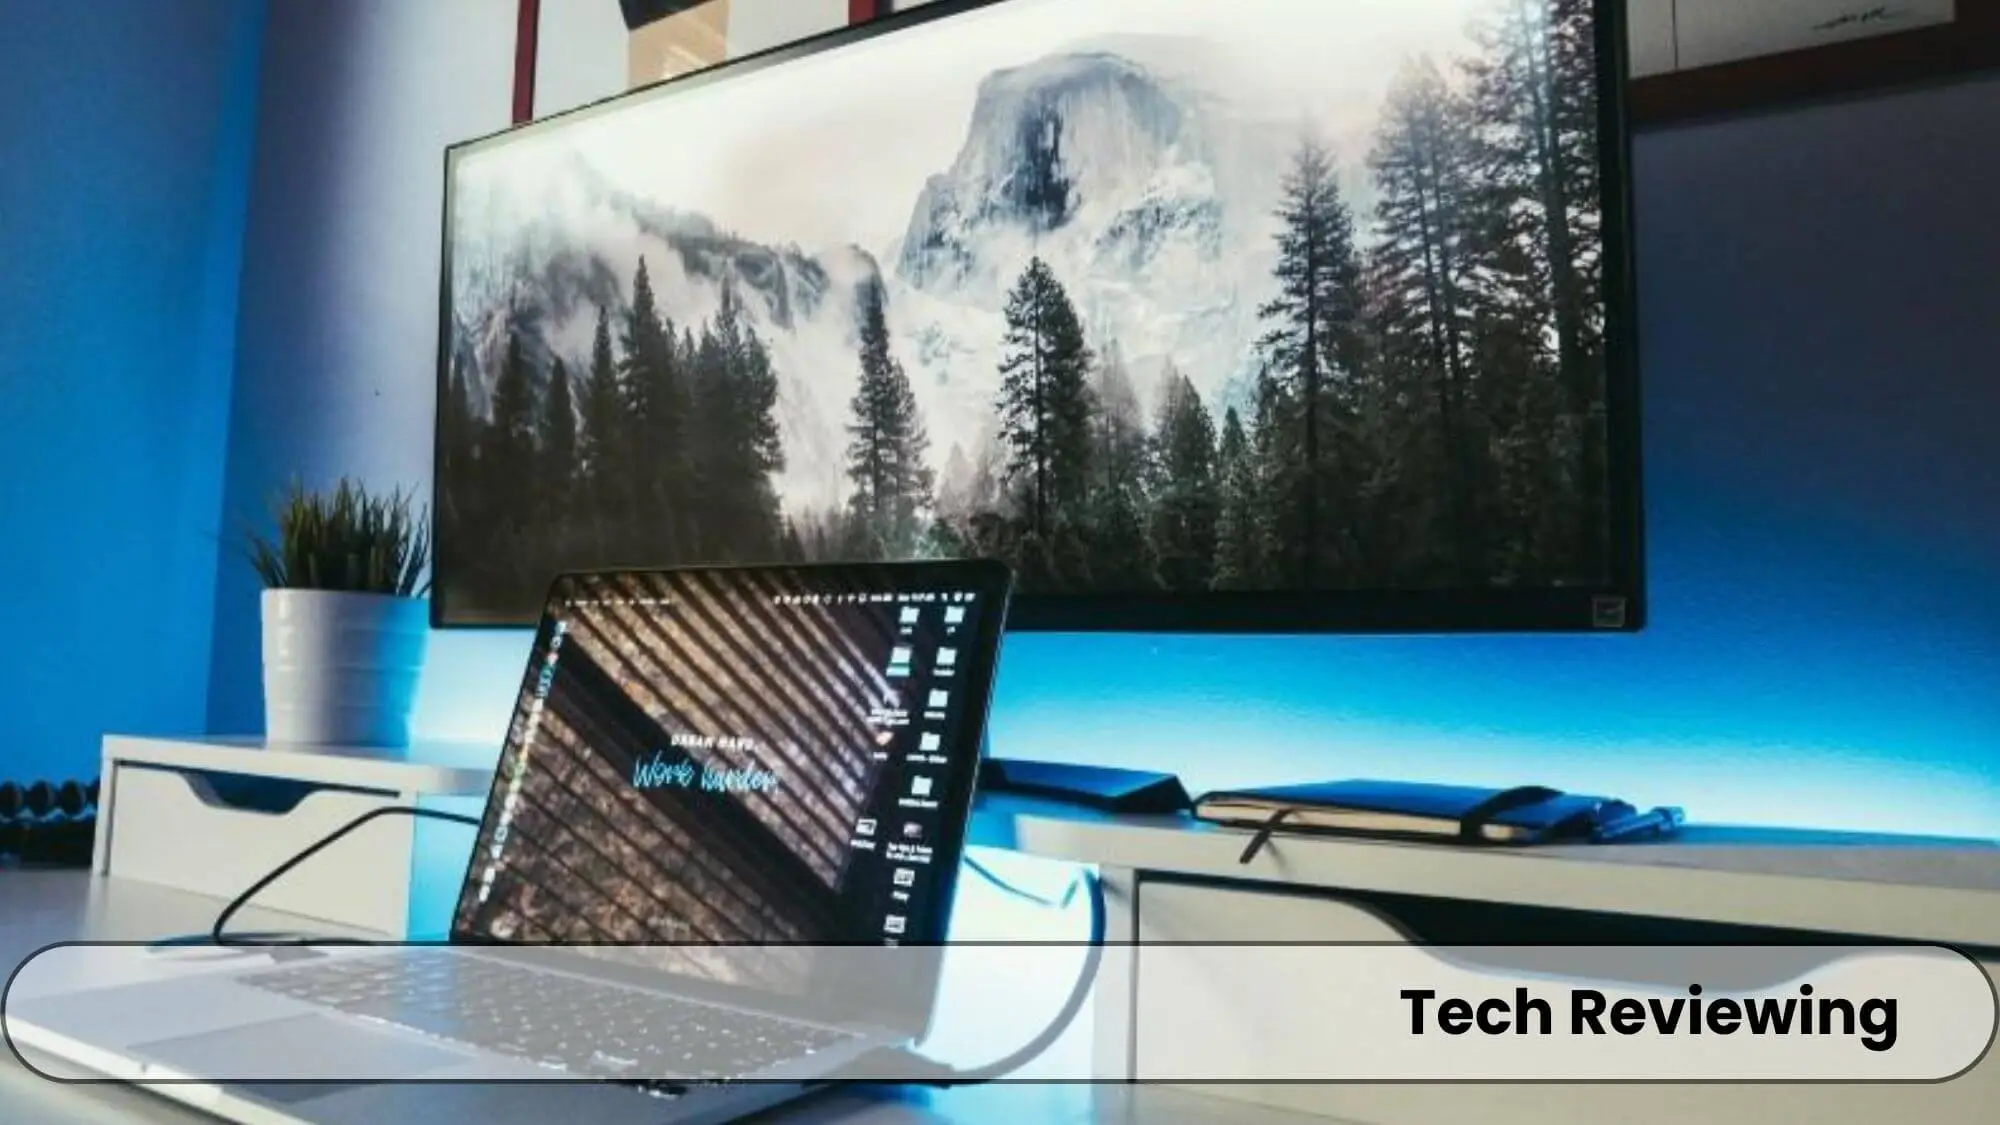
Imagine this: You’re hunched over your tiny laptop screen, squinting at a movie that deserves the big screen treatment.
Your neck aches, your eyes strain, and the popcorn isn’t hitting the same.
Sound familiar? Well, fear not, fellow cinephiles, because we’re about to transform your living room into a home theater wonderland!
With this guide, you will be able to successfully make the connection between your Dell laptop and your desired TV without any issues.
Dont worry this blog post is based on my own experience & I have tried & tested many methods from which I have chosen that will help you out.
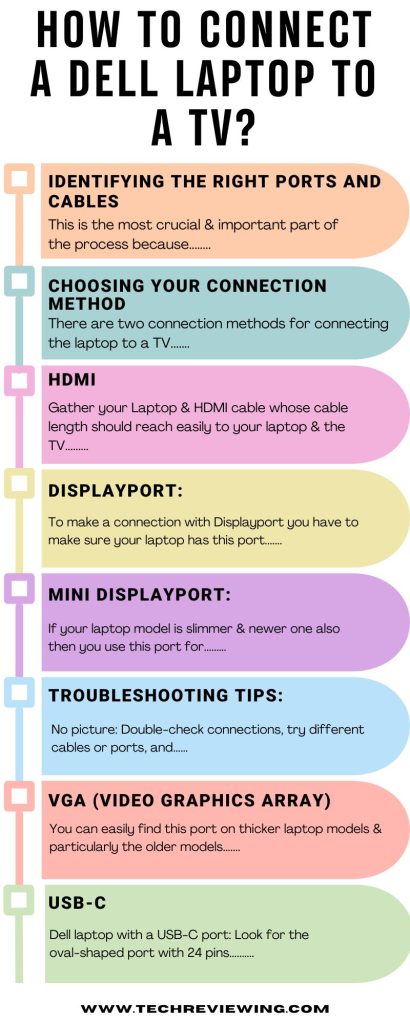
Identifying the Right Ports and Cables
This is the most crucial & important part of the process because in this step we have to identify the ports & cables which will allow us to enjoy our experience with the big screen.
If you don’t know what these are portals then these are the ports of the device & the bridges are the cables that make the connection with the ports.
I will explain all the steps you can follow with different ports & their cables, so dont worry & just follow the steps.
If you are still unsuccessful in making a connection then dont worry just comment down & explain the issue you are facing, and I will make sure your problems get solved.
Now let’s dive into the process with different cables.
Choosing Your Connection Method
There are two connection methods for connecting the laptop to a TV, one is through making a connection with a Wire
& the second method is making a Wireless connection without wires.
I will share all the steps for both of these methods.
HDMI (High-Definition Multimedia Interface)
Gather your Laptop & HDMI cable whose cable length should reach easily to your laptop & the TV.
Now you have to Turn on your TV & switch it to input source HDMI 1 or HDMI 2 if you don’t find it then read the TV manual you will surely find there.
Troubleshooting Tips:
- If you don’t see a picture on your TV, ensure both your laptop and TV are turned on and that the HDMI cable is securely plugged in. Try switching to a different HDMI port on the TV.
- If you’re experiencing audio issues, check your laptop’s audio settings and ensure it’s set to output through HDMI. You might also need to adjust the audio settings on your TV.
- If you encounter any resolution or refresh rate problems, try adjusting these settings through your laptop’s display settings.
If you still face any kind of issue after applying troubleshooting tips then dont be afraid just contact me in the comments section.
And I will help you out until your problem gets resolved. If you want to know how you can connect your laptop with Airpods, another laptop, and other devices, I have explained the steps for these too on my blog!
DisplayPort:
To make a connection with Displayport you have to make sure your laptop has this port which is rectangular in shape port with 20 pins in it.
Also make sure your laptop has DisplayPort input if not then you can purchase DisplayPort to HDMI adapter.
Now I am gonna explain the process in the step-by-step procedure so follow these steps & ask me if you didn’t understand any of the steps explained below.
Troubleshooting Tips:
- No picture: Check connections, try a different DisplayPort cable or port, and ensure the TV is set to the correct input.
- Audio issues: Check audio settings on both devices and adjust as needed.
- Resolution or refresh rate problems: Adjust from Windows display settings.
Additional Tips:
- Use high-quality cables: Ensure optimal performance and reliability.
- Check for updates: Keep your laptop’s graphics drivers updated for best compatibility.
- Consult manuals: Refer to your Dell laptop and TV manuals for specific instructions or troubleshooting.
Mini DisplayPort:
If your laptop model is slimmer & newer one also then you use this port for connection purposes with the TV.
It is just a similar but smaller version of the regular DisplayPort.
You will need an adapter to convert the Mini DisplayPort signal to either HDMI or simple DisplayPort, conversion will depend on the port that you have available in your TV.
Cable: Choose an HDMI or DisplayPort cable that matches your adapter and TV input.
Audio Cable (potentially): Some adapters may not carry audio, so you might need a separate audio cable.
You can purchase Online or from any offline store. Now follow these short steps in order to make an successful connection.
Troubleshooting Tips:
- No picture: Double-check connections, try different cables or ports, and ensure the TV is set to the correct input.
- Audio issues: Verify audio settings on both devices and adjust as needed.
- Resolution or refresh rate problems: Adjust these settings through Windows display options.
Additional Tips:
- Opt for high-quality adapters and cables for optimal performance and reliability.
- Keep your laptop’s graphics drivers updated for best compatibility.
- Refer to your Dell laptop and TV manuals for specific instructions or troubleshooting.
VGA (Video Graphics Array)
You can easily find this port on thicker laptop models & particularly the older models, but some newer models of Dell have this VGA port.
Making a connection between a Dell laptop & TV via VGA can sound old school but it is still a viable option if you want to enjoy your games.
Or want to do work on a big screen here is how you can connect your laptop with a TV with VGA.
You have to find a 15-pin trapezoid-shaped port on your laptop. usually, older models have this port & also the thicker laptops.
Now you have to look for the input in your TV, and finding it can be difficult because newer models do not come with this port.
- Choose a good-quality cable of adequate length to comfortably reach your TV.
- Audio cable (separate): Since VGA only transmits video, you’ll need a separate audio cable (3.5mm jack to RCA) to connect your laptop’s headphone jack to the TV’s audio input.
Now follow these steps to make the connection between laptop & TV.
Tips and Troubleshooting:
- VGA supports lower resolutions than HDMI or DisplayPort, so expect a less crisp picture on larger TVs.
- Ensure your TV is set to the correct input source (VGA usually).
- Double-check connections and try different cables if you encounter issues with video or audio.
- Consider an HDMI adapter if your TV has an HDMI port but your laptop only has VGA.
USB-C (Universal Serial Bus Type-C)
I will share the method to connect your laptop to a TV with a USB-C port.
Follow these steps & you can make a successful connection without facing any issues.
& if still after following these steps you can’t make a stable connection then dont worry just comment down the issue you are facing.
Troubleshooting tips:
- No picture: Double-check connections, ensure your TV’s input source is correct, and verify your laptop’s USB-C port supports DP Alt Mode.
- Audio issues: Some USB-C setups might require separate audio cable connections. Check your TV’s manual or online resources for specific instructions.
- Resolution or refresh rate problems: Adjust these settings through Windows display options or explore adapter settings (if applicable).
Additional tips:
Follow these tips if you guys want a strong connection & want to enjoy your laptop on a bigger screen.
These tips are based on my own experience which is based on various experiments & knowledge of my own & gained from many sources.
- Use high-quality cables and adapters for optimal performance and reliability.
- Check for updates: Updating your laptop’s graphics drivers and TV firmware can improve compatibility.
- Consult your Dell laptop and TV manuals for specific port capabilities and connection instructions.
Wireless Connection
You can also enjoy your content on TV with a wireless connection without the hassle of cable.
I will explain the steps & methods by which you can make the connection stable & enjoy it.
Miracast:
This technology allows you to wirelessly mirror your laptop’s screen onto your TV. It’s built into most Windows 10 and later laptops and most smart TVs.
- Check compatibility: Ensure both your laptop and TV support Miracast. You can find this information in their manuals or online specifications.
- Turn on your TV and set it to the Miracast input.
- On your laptop, press the Windows key + P to open the “Project” menu.
- Select “Connect to a wireless display.”
- Wait for your TV to appear in the list, then click on it to connect.
- Once connected, your laptop screen should be mirrored onto your TV.
Chromecast:
You can also make a connection with this option between your laptop & TV. Follow these steps which I have explained below to make a stable connection.
This dongle plugs into your TV’s HDMI port and lets you stream specific content from your laptop (e.g., videos, music, presentations) to the TV, not mirror the entire screen.
Chromecast requires an internet connection.
- Connect the Chromecast to your TV’s HDMI port and power it up.
- Download and install the Google Home app on your laptop.
- Follow the on-screen instructions in the app to set up your Chromecast.
- Once set up, open the app or website you want to stream content from.
- Look for the Chromecast icon (usually a rectangle with three curved lines) and click on it.
- Select your TV from the list of available devices.
- The content will now start playing on your TV.
Tips
- Ensure your laptop and TV are connected to the same Wi-Fi network for a stable connection.
- If you’re experiencing lag or buffering, try moving your laptop closer to the TV or restarting both devices.
- Consider the capabilities of your internet connection: Miracast requires relatively high bandwidth, while Chromecast can work with lower speeds.
FAQ’s
Conclusion
Make & enjoy your connection by following my blog post & sharing this blog with your fellows who are also looking for a solution for connecting their laptops with their TV screens to enjoy the laptop on the bigger screen.
If you still have any confusion about any step explained above then dont worry just comment down your problem & I will help you out.


